

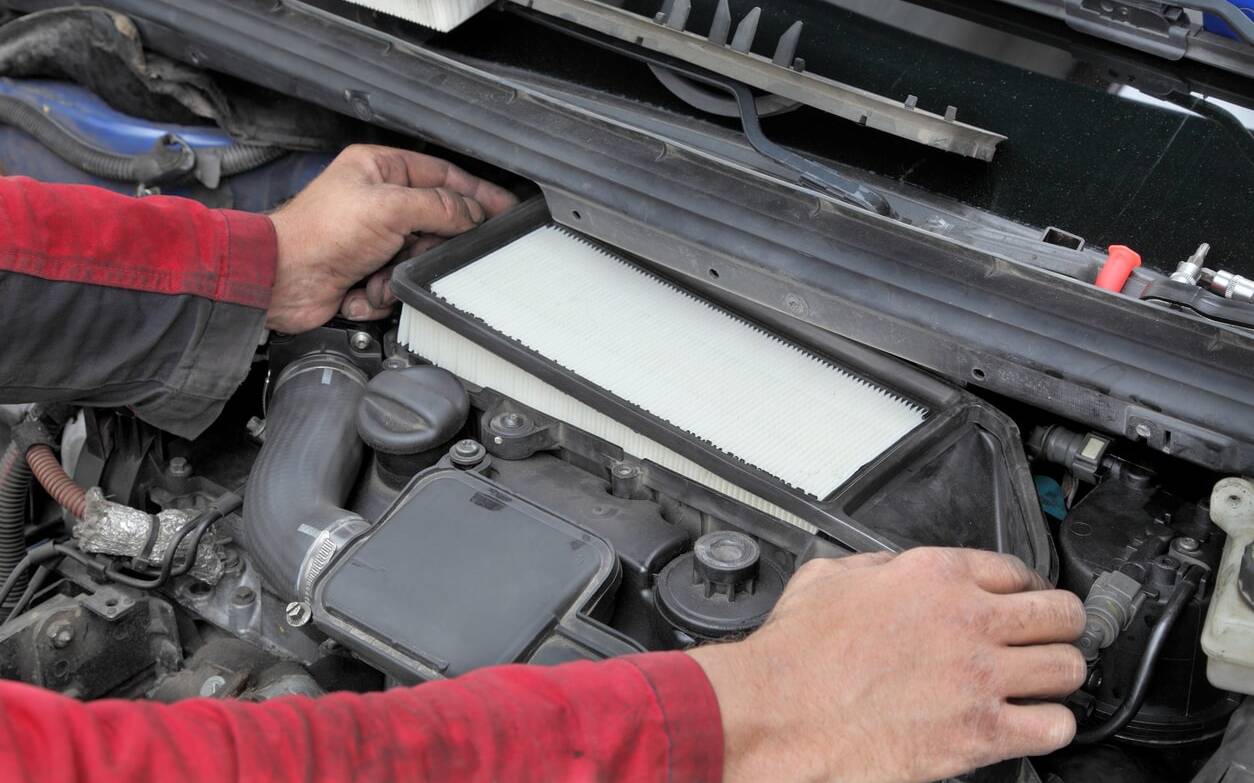
How to clean an engine air filter
We've said it before and we'll say it again: maintaining your vehicle is financially more advantageous than buying a new one, especially since there are many ways to save on the maintenance of your car, SUV or truck.
For example, there are alternatives to off-the-shelf products, or tasks that you can do yourself without having to visit a dealer or workshop. These include inspecting, cleaning and replacing engine air filters.
This filter, it should be remembered, plays a crucial role in preventing suspended dirt and contaminants from reaching the engine, interfering with the combustion process and reducing performance as well as increasing fuel consumption. It thus has a direct influence on engine health and durability.
It's important to inspect and clean the engine air filter periodically, as well as when abnormal symptoms occur in vehicle operation. After a while, however, it's time to replace the filter. The owner's manual contains all the vehicle manufacturer's recommendations. Consult it!
Clean an engine air filter in five easy steps
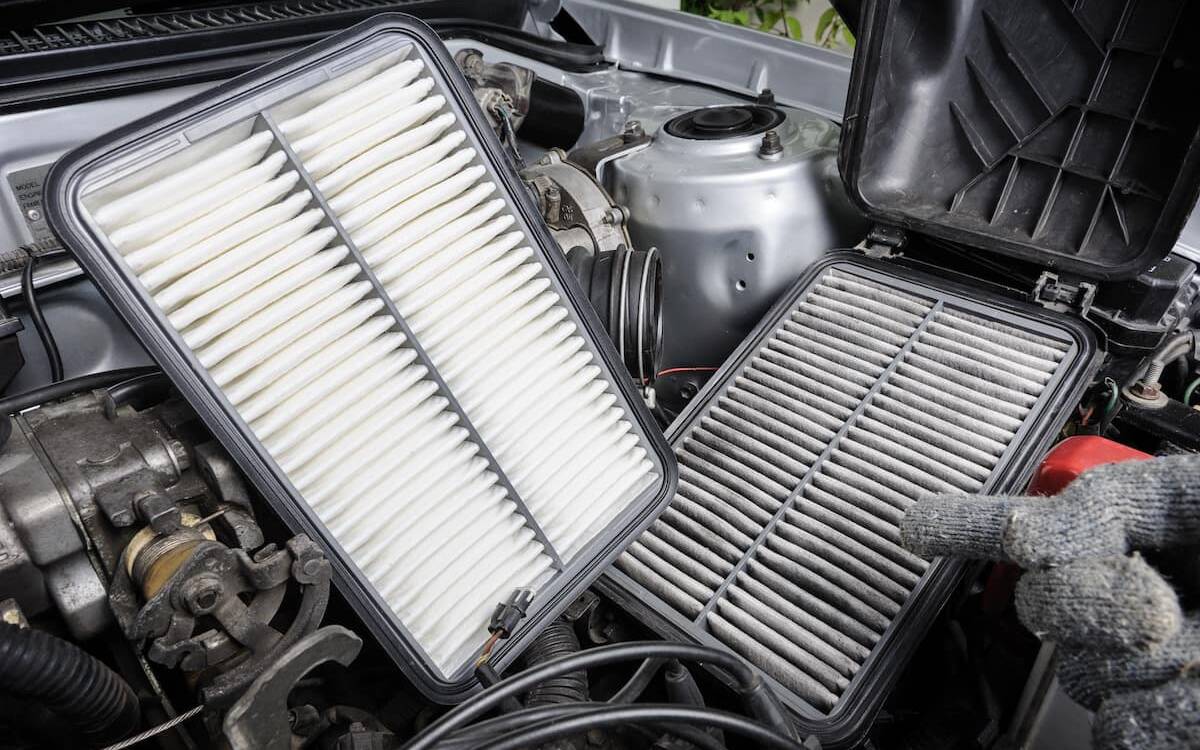
1. First, make sure the vehicle cools down for about 15 minutes after switching off the engine. Lift the hood, locate the housing containing the engine air filter and remove it, noting its position.
2. Using a vacuum cleaner fitted with an appropriate nozzle, gently suck up any coarse dirt from the air filter.
3. Use a mild cleaning product, such as washing-up liquid, to clean the filter more effectively. You can rub it lightly or leave it to soak for ten minutes.
4. Then rinse the air filter with water to remove all the cleaning agents. A tap or watering can is far preferable to a bucket of water for this purpose. Let the filter dry completely.
5. Finally, put the clean air filter back into its housing, exactly the way it's supposed to go. Then close the housing securely before folding back the hood. It's that simple, and you're ready to hit the road!