

I restored my first engine and this is what I learned
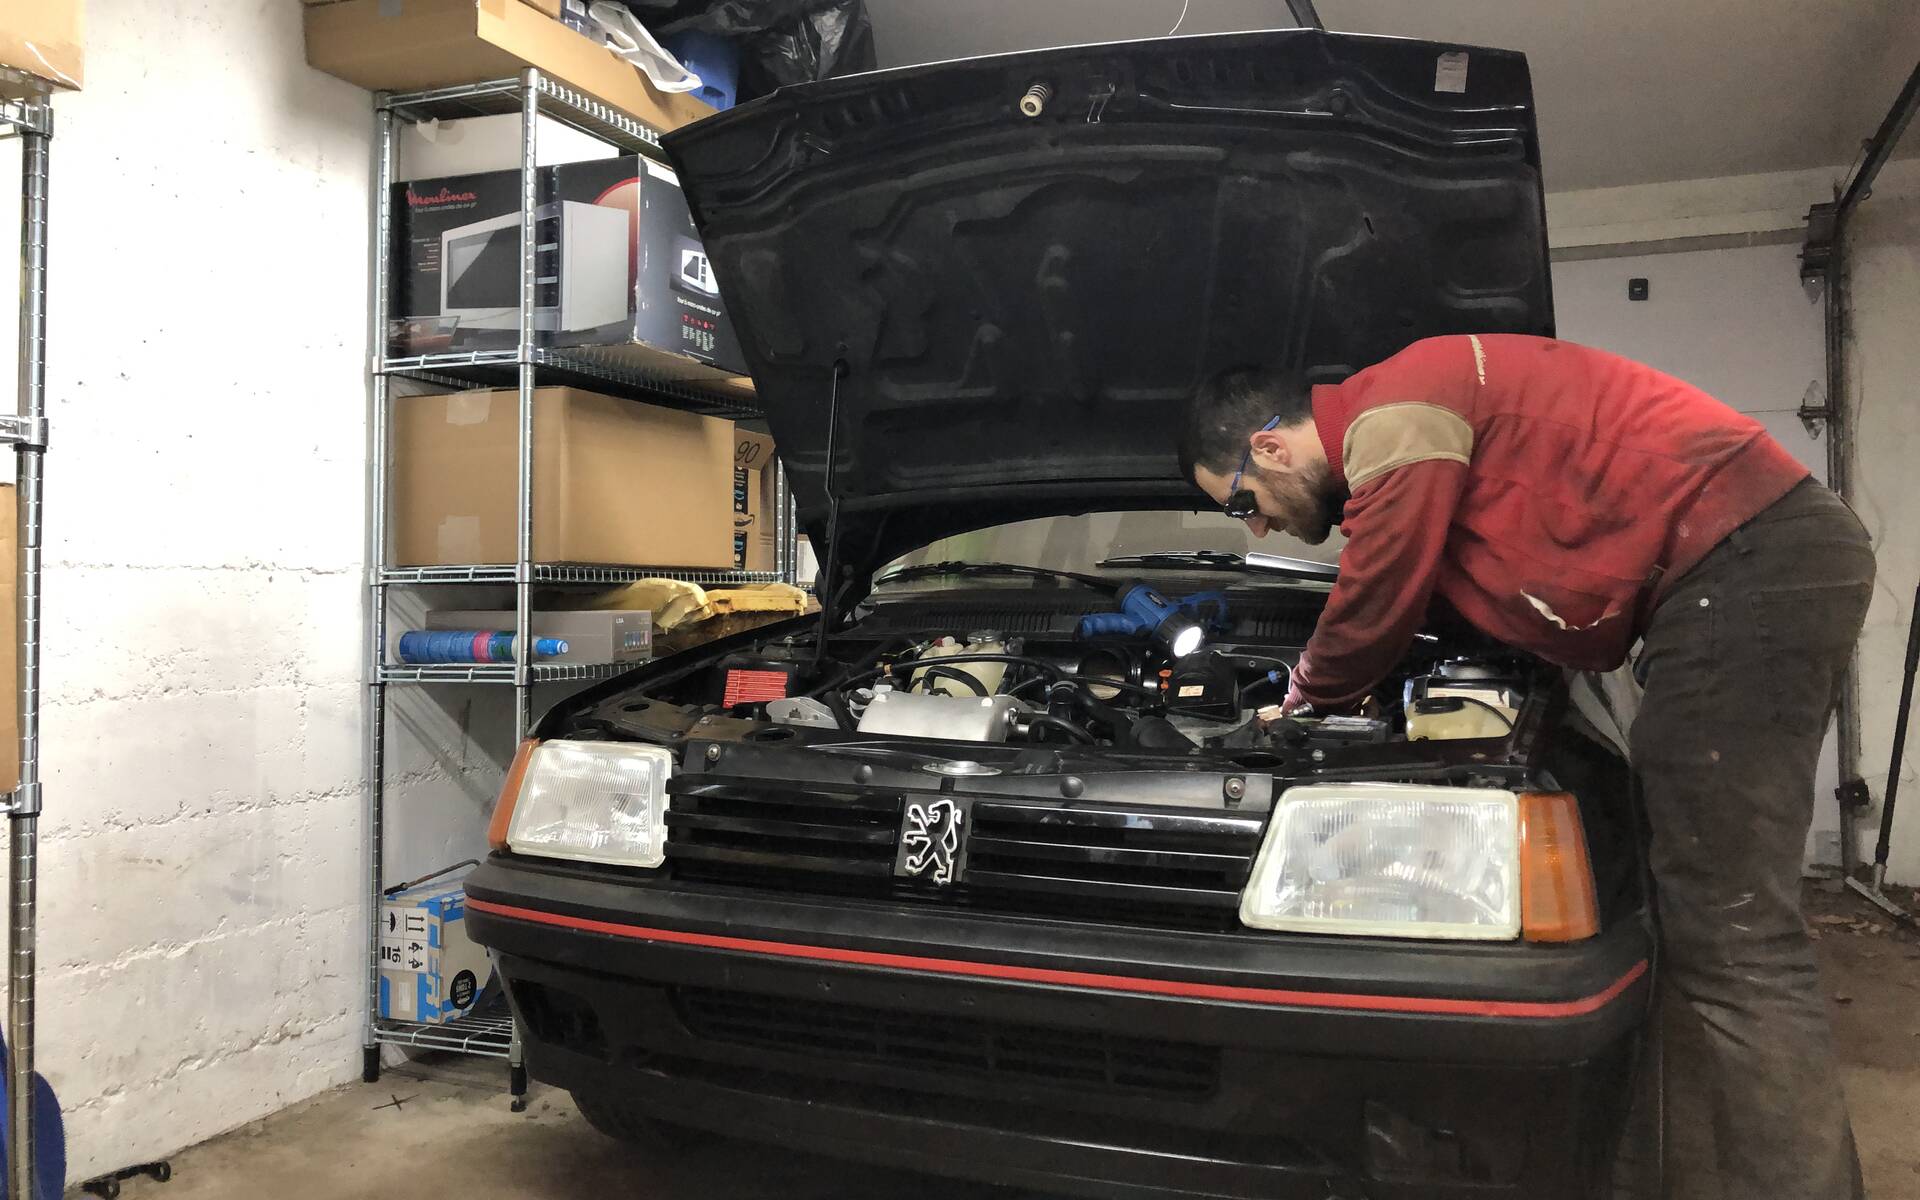
I've already told you about the car I bought without even driving it. It's little known in Quebec, but has become mythical in Europe, a Peugeot 205 GTI. Initially, I was looking for a Mazda Miata NA (the first model) as a summer car, but the possibility of offering myself a car owned by several members of my family and that rocked my childhood made me change my mind at the last minute.
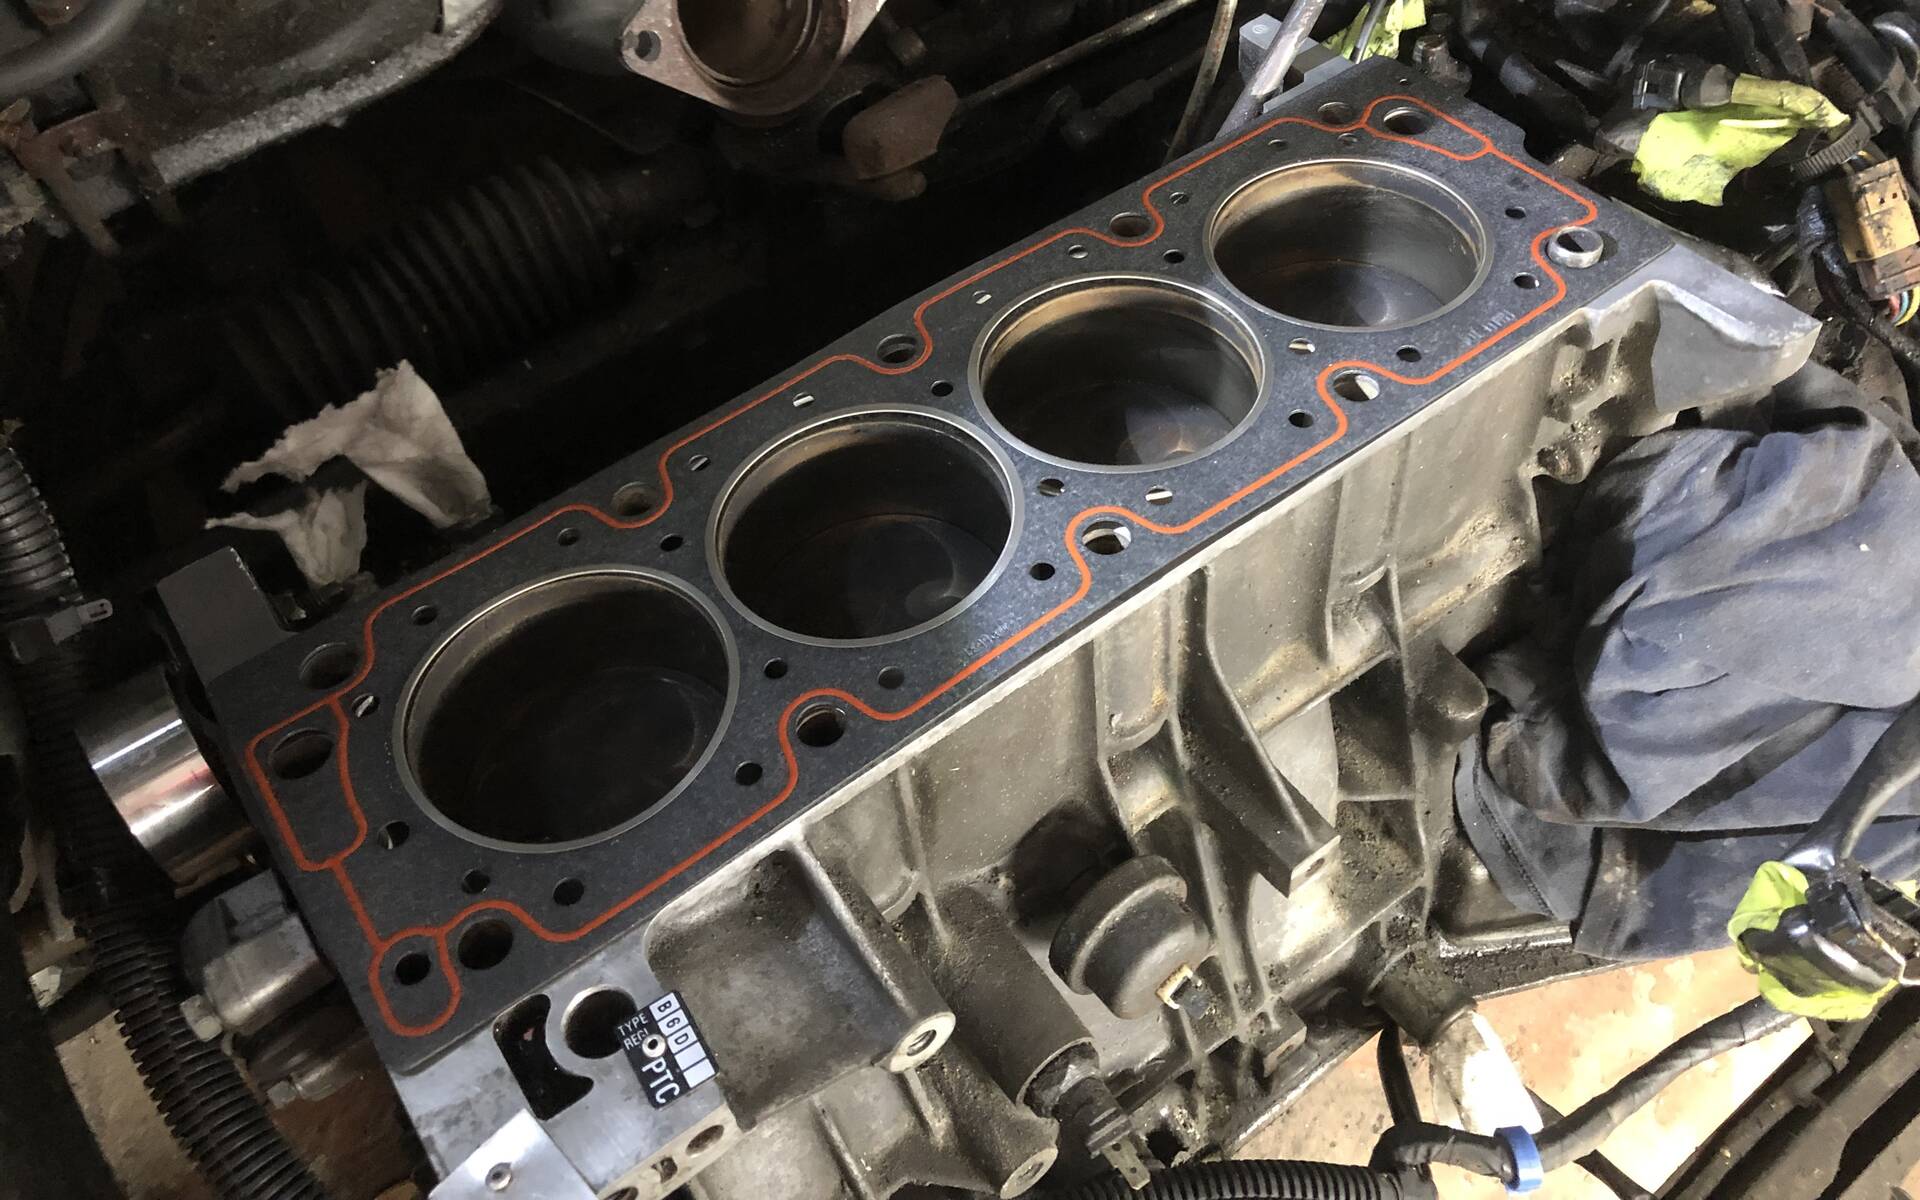
The purchase involved a certain amount of risk, as the car had not been moved for 4 years and needed a good restoration before being driven again. I was more worried about the chassis than the powertrain, as the latter started well and ran smoothly. However, engines don't appreciate prolonged downtime, and after only 500 kilometers the cylinder head gasket began to ooze oil down the back of the block. The 4-cylinder was running perfectly and the compressions were good, but I didn't want to let the situation worsen and risk a stupid breakdown. So, to get off to a good start, I decided to completely rebuild it. As the car dated from 1986, this was no luxury.
Even though I'd done a lot of moped work with my grandparents in my teens, I was a little more stressed about this project. The cylinder head of a small 50 cc 2-stroke engine is held together with just 4 bolts... it's a lot less complicated than rebuilding a car block!
But after just over 18 months of evening and weekend work, 6 months of total downtime (the 2023 and 2024 Car Guide don't leave enough time to work on such a project!) and a bit of trouble to get certain parts from Europe, the Peugeot started up this week.
On my engine, everything has been changed or refurbished except the cylinders, pistons and crankshaft, which were perfectly dimensioned when checked.
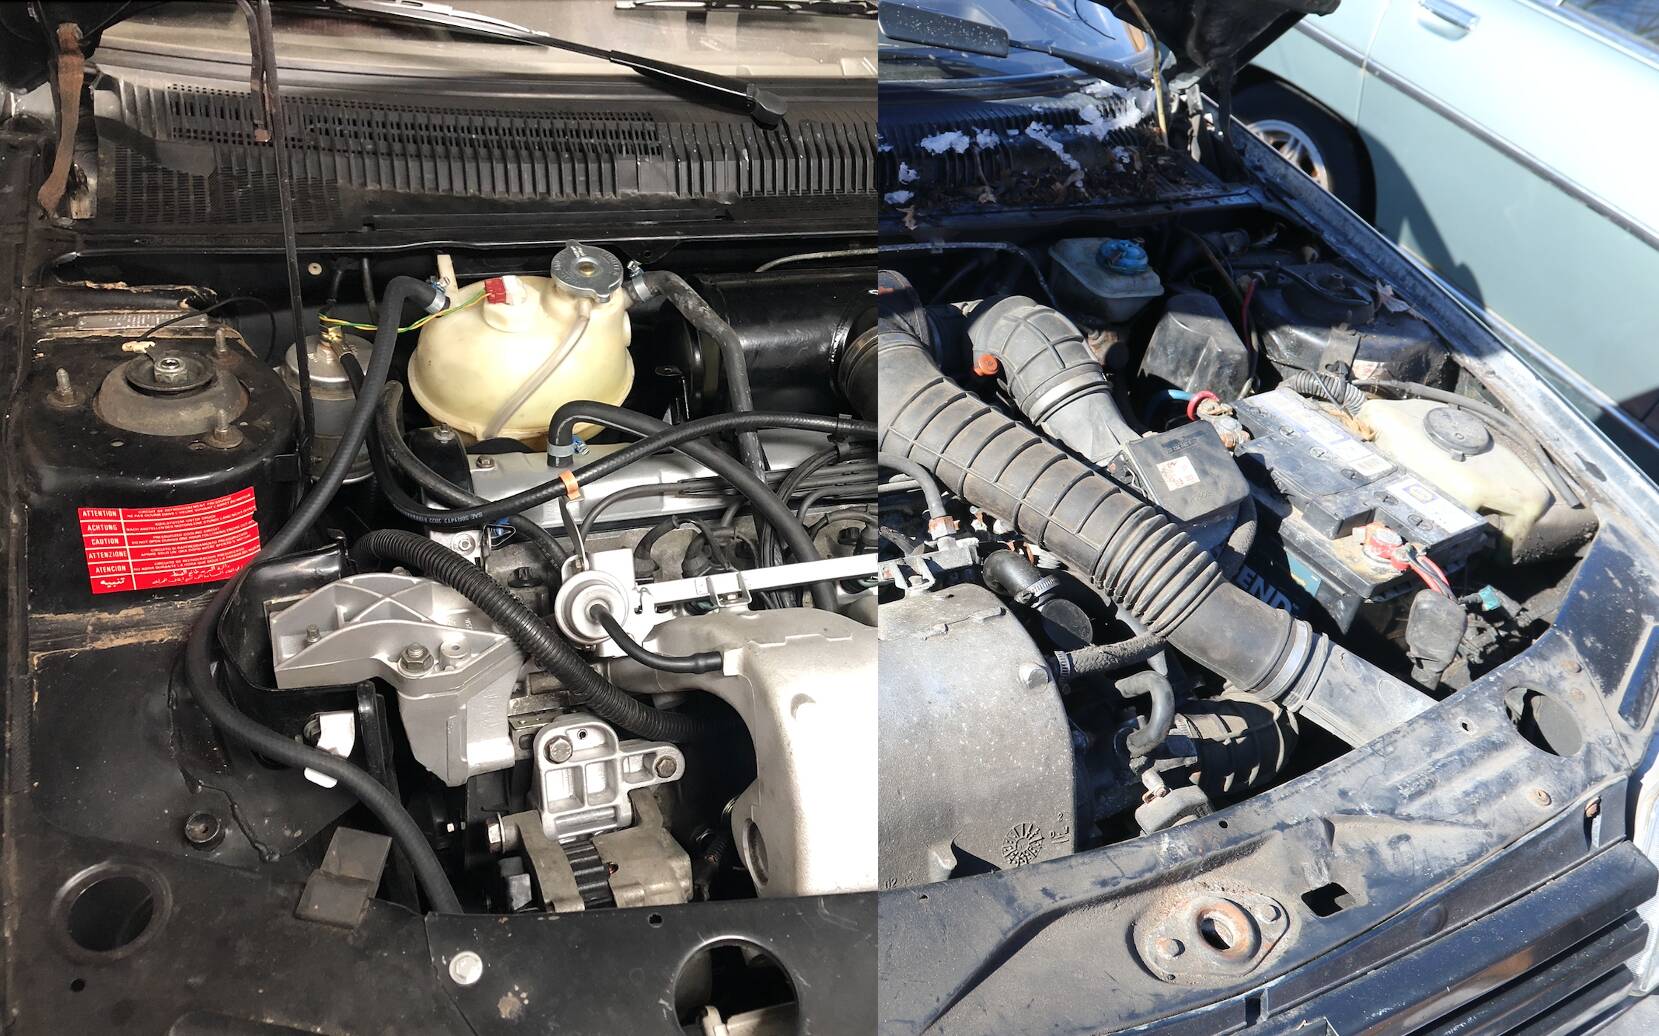
The car runs on its 4 cylinders and revs normally. And apart from a small coolant leak due to a loose clamp, there have been no problems whatsoever. If you're a mechanic by trade, what I've just told you is appallingly banal. But for those who would like to embark on such an adventure, here are a few tips I can give you following this restoration.
Photographing, filming and recording
Not being a mechanic at heart, I did my utmost not to end up with screws lying around in a box at the end of the reassembly... Each time I disassembled a part, I filmed the engine talking to myself. The result was videos like "ok, so to dismantle the motor mount you have to undo two screws, the long one goes to the top and the short one goes to the bottom".

Once the parts had been disassembled, I placed them in resealable bags or in boxes with a label so I knew what they were. And to avoid short-circuits on reassembly, I also labeled all the motor's electrical outlets with paint adhesive.
It doesn't leave any traces of glue, and you can write on it. This way, I was sure to reconnect the right plugs in the right place. The same went for the oil, air and water hoses, so I could reassemble them properly. In the end, my engine compartment was full of green adhesive all over the place!
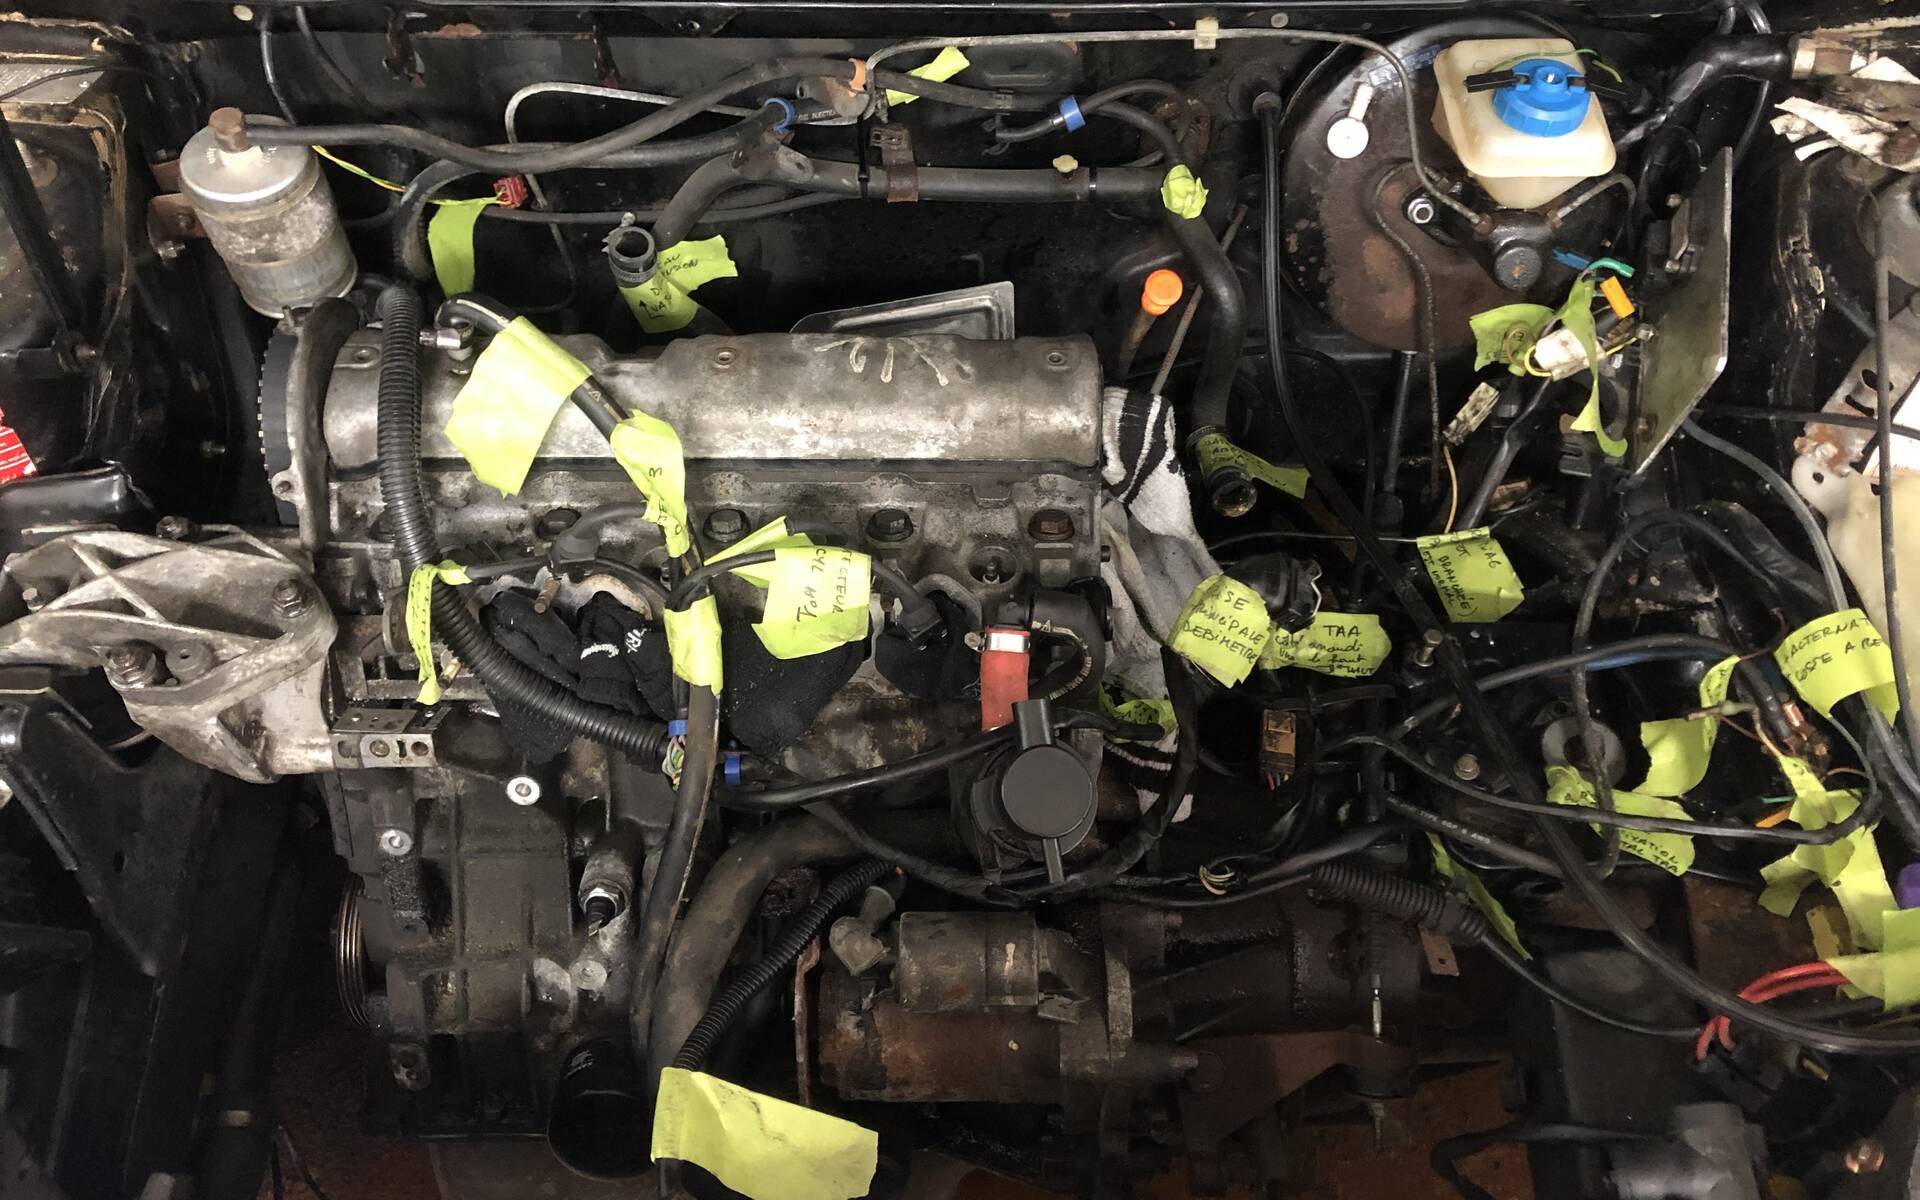
In any case, I've congratulated myself several times for taking these precautions, because the time I spent filming and recording everything came in very handy when I was reassembling.
Think and observe before dismantling everything
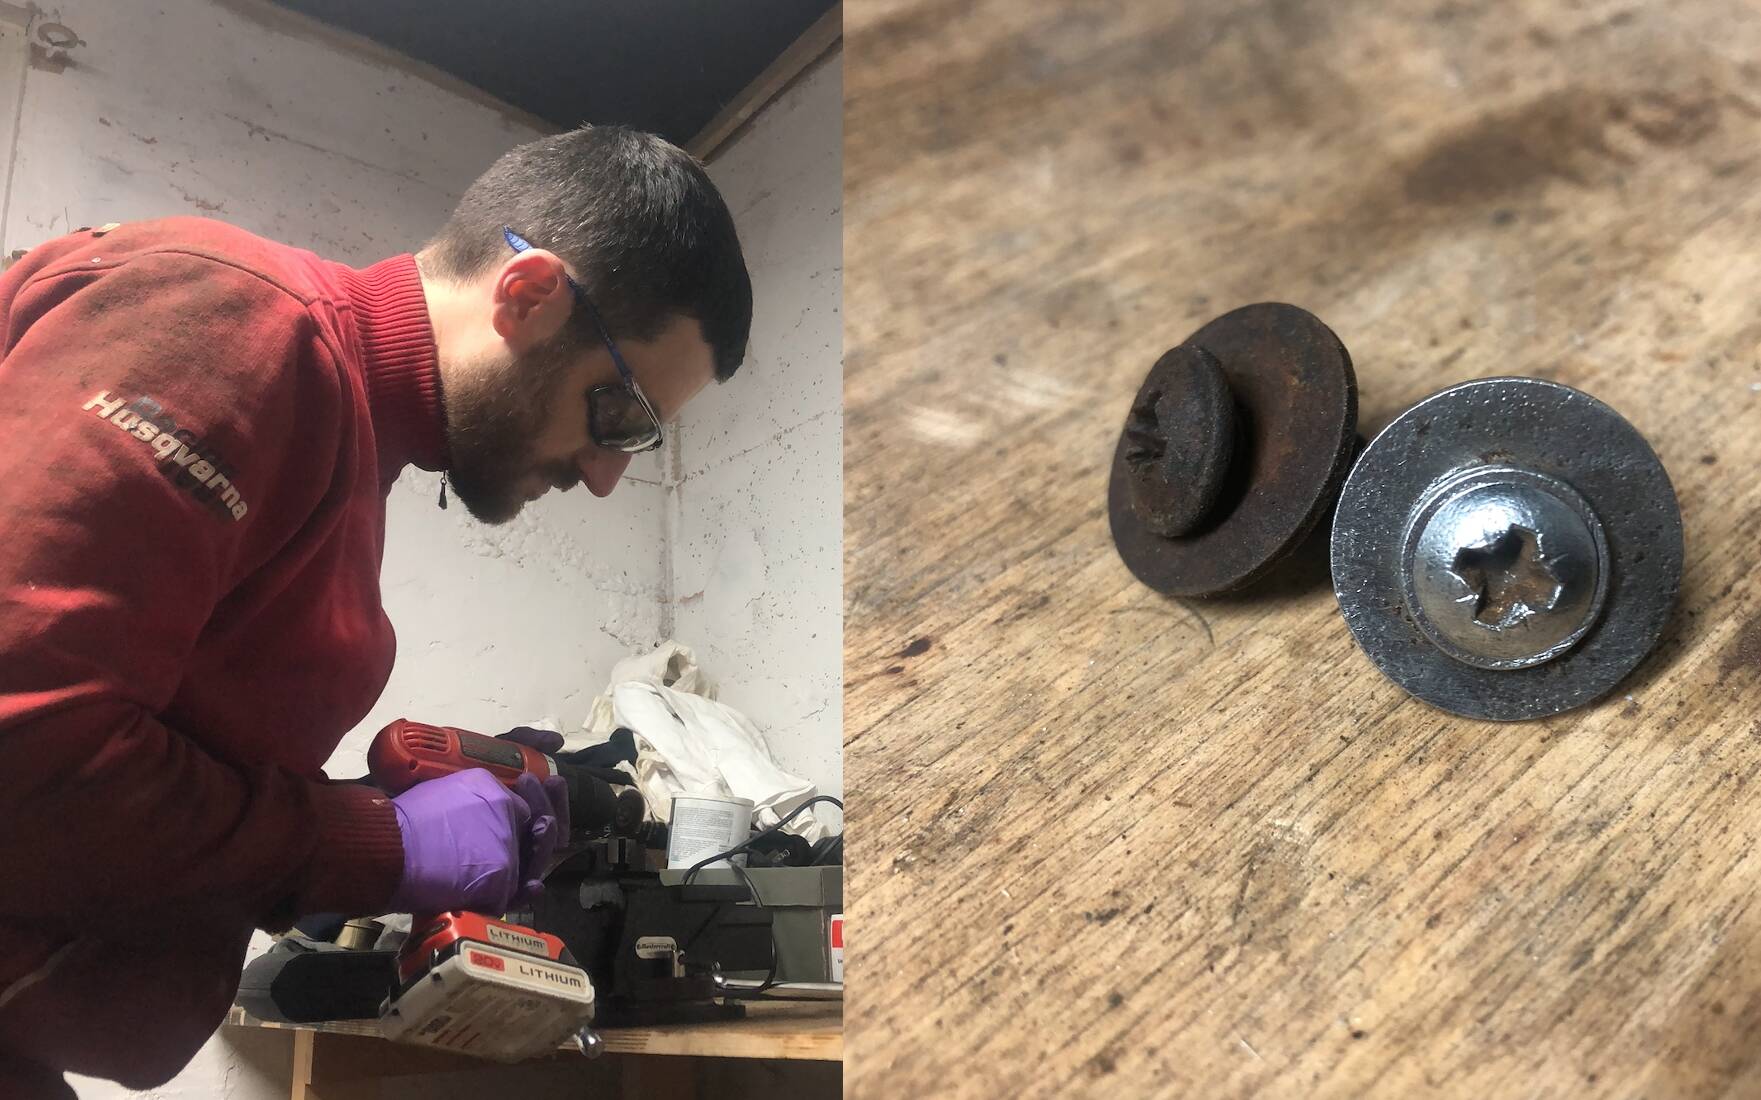
When I set about dismantling it, I quickly realized that many of the screws and bolts were quite rusty. Not wanting to break any screws in their housing, I sprayed on degreaser and let it work for several hours before dismantling certain parts. It's frustrating, you feel you're wasting time and putting off dismantling, but in the end, it paid off.
After emptying the engine bay, I had only broken two screws. And to make reassembly easier, I cleaned each corroded screw (and there were a lot!) with a wire brush. Those that were too rusty to reassemble were replaced by new ones. Again, a long and tedious process, but very satisfying when reassembled.
Technical review and tutorials on YouTube
Before embarking on the engine disassembly, I obviously bought the car's technical magazine, which is full of information. I also found some very interesting sources on the web, including YouTube tutorials and pages explaining how to perform certain operations, with photos.
This enabled me to see in advance how the parts would come apart, and to avoid the mistakes made by apprentice mechanics before me. When it came to reassembly, having a web page with all the tightening torques for the engine and gearbox was also a great help.
Call in a mechanic when necessary
Some mechanical operations are quite complex, and if you make a mistake, there's a significant risk of breakage. For the most difficult things to do, I called in the professionals, notably to reseal the gearbox. Part of the fourth and fifth gear sprockets had to be dismantled, and if they hadn't been reassembled correctly, they could have broken.
I also let professionals check the flatness of the cylinder head, run the valves and fit the seals. The same goes for timing belts and crank seals. In the worst-case scenario, a major error in fitting these components could have resulted in a broken block or transmission. For a first lifetime restoration, I preferred to play it safe...
Buy or rent quality tools
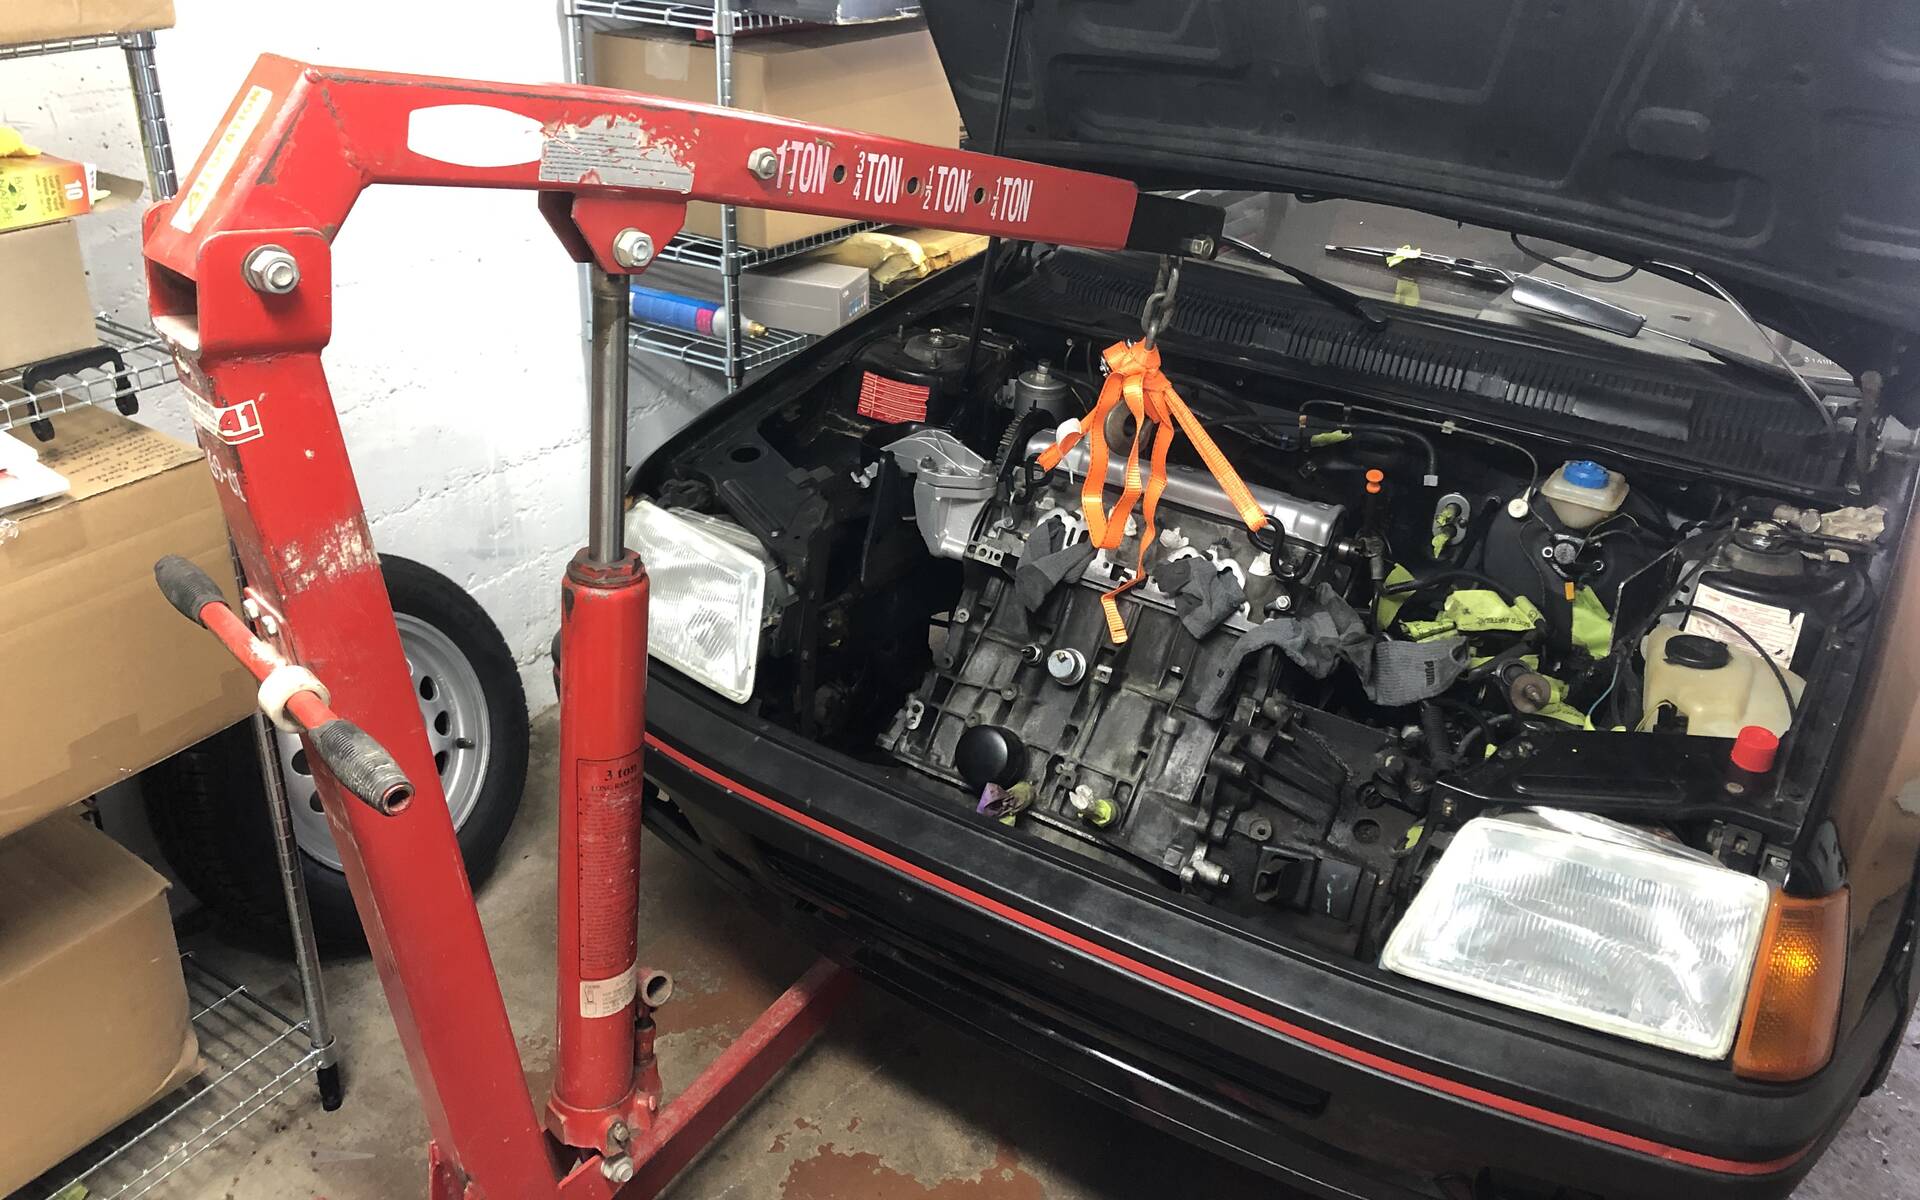
When you decide to take out an engine and gearbox, you need quite a bit more equipment than for an oil change! My initial idea was to buy the tools I was going to need again, and rent the others. In this way, I equipped myself as and when I needed to, and significantly extended the number of tools I had. I've opted for good quality items, and I think it's a worthwhile expense to avoid damaging screws and bolts.
On the other hand, I rented the motor goat to take it out of the chassis. If you plan to take motors out often and have the space available, it might be worth buying it. But the investment wasn't worth it in my case.
Don't rush to reassemble
After almost a year and a half as a mechanic, I was obviously impatient to be able to drive the car. With December fast approaching, and with it the ban on driving without winter tires, I restrained myself from accelerating the pace.
After all, I'm slower than a real mechanic, and I didn't want to make a stupid mistake during reassembly. So I carried on at my normal pace, and finished on December 4... after a huge sheet of snow had covered our roads.
To avoid stumbling just before the finish line, I've prepared a list of tasks to remember, including silly things like refilling the oil or coolant. And running the engine by disconnecting the ignition to restore adequate oil pressure before starting it for the first time.
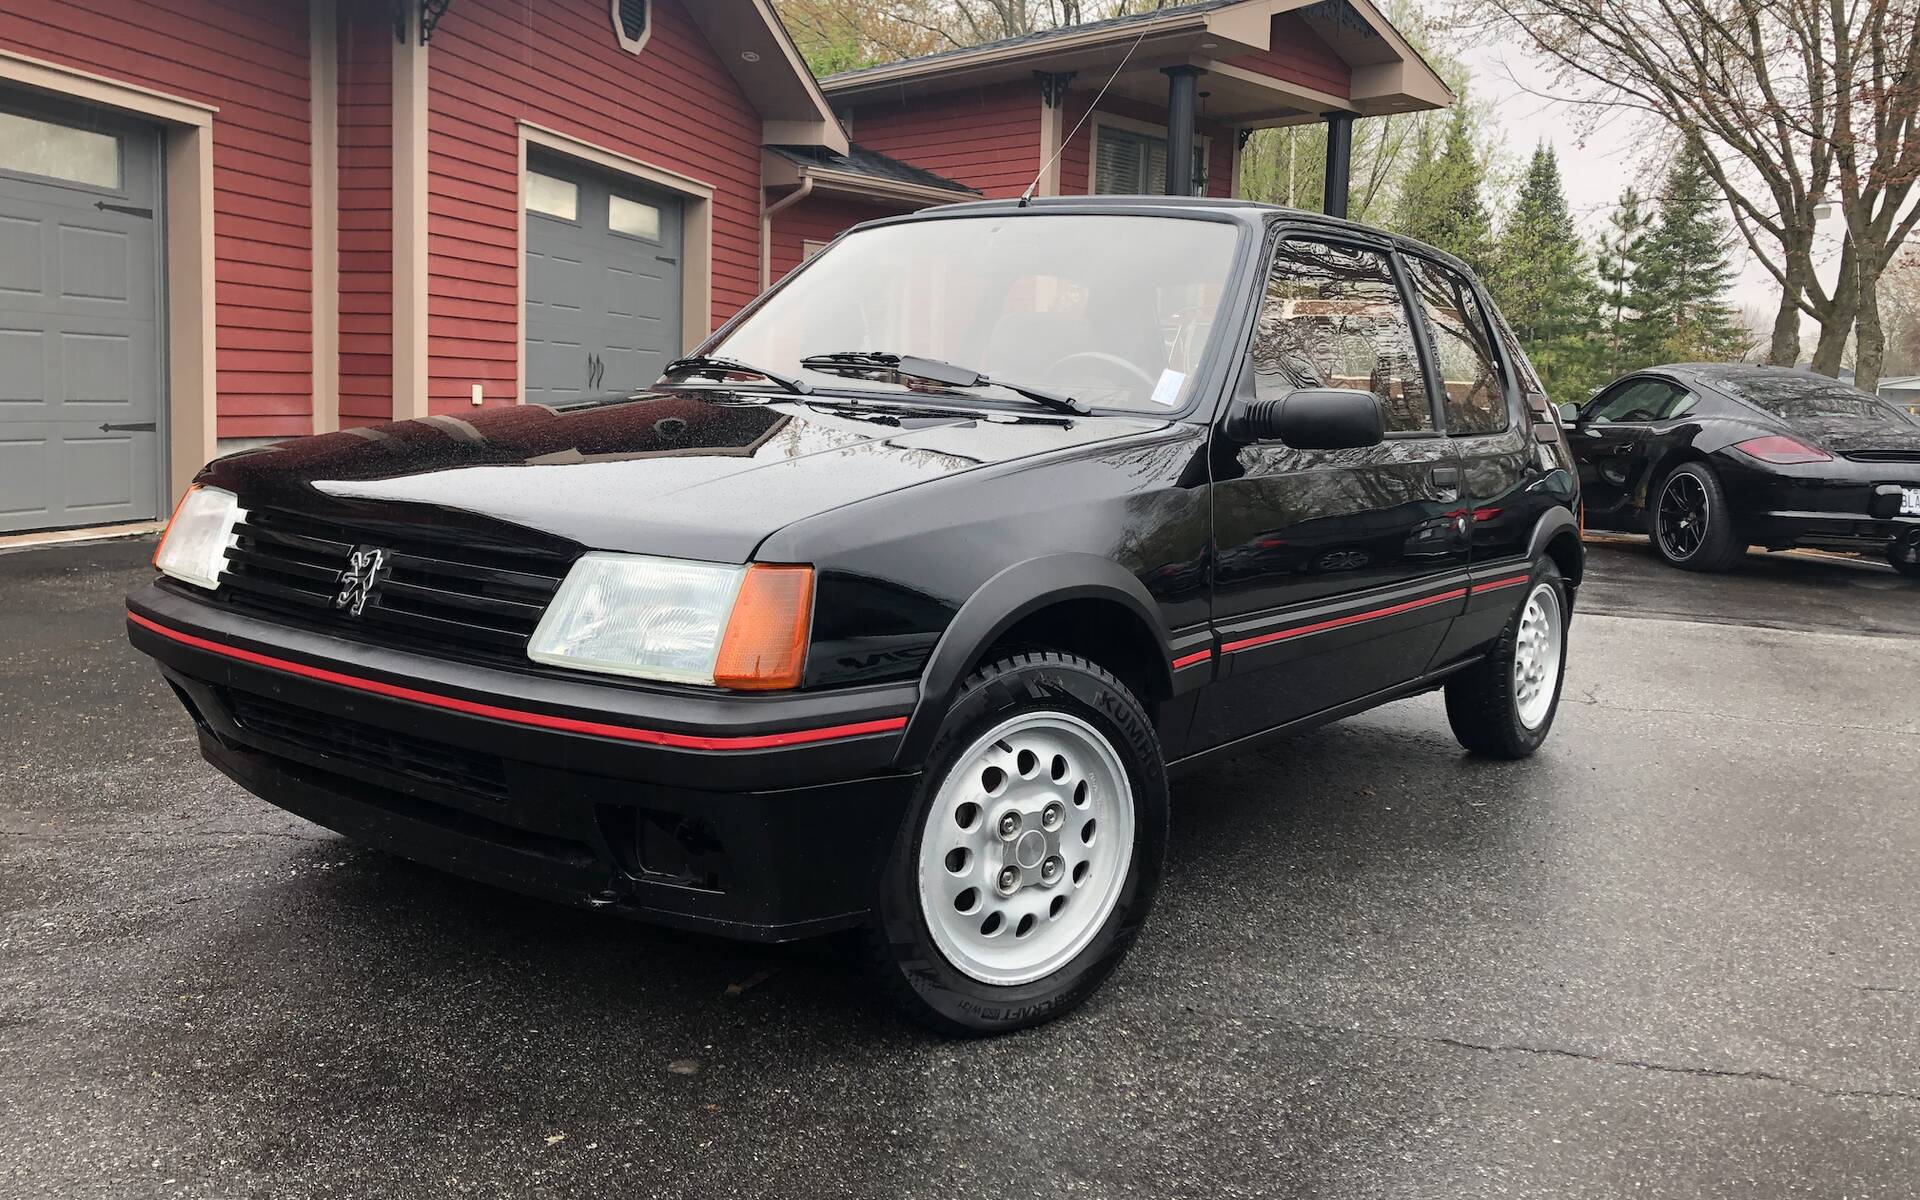
So it was after countless hours spent in my garage, parts orders delayed by Covid and a finger broken by a suspension part (see the "getting help when you need it" section...) that I finally restarted my engine. It started at the first turn of the key and runs like new!
The oil level is good, the cooling system has been purged, and all I have to do now is wait for the snow to melt before I can enjoy my refurbished engine on the road!